 The Little Guide to Analog Photo Booths in Chicago
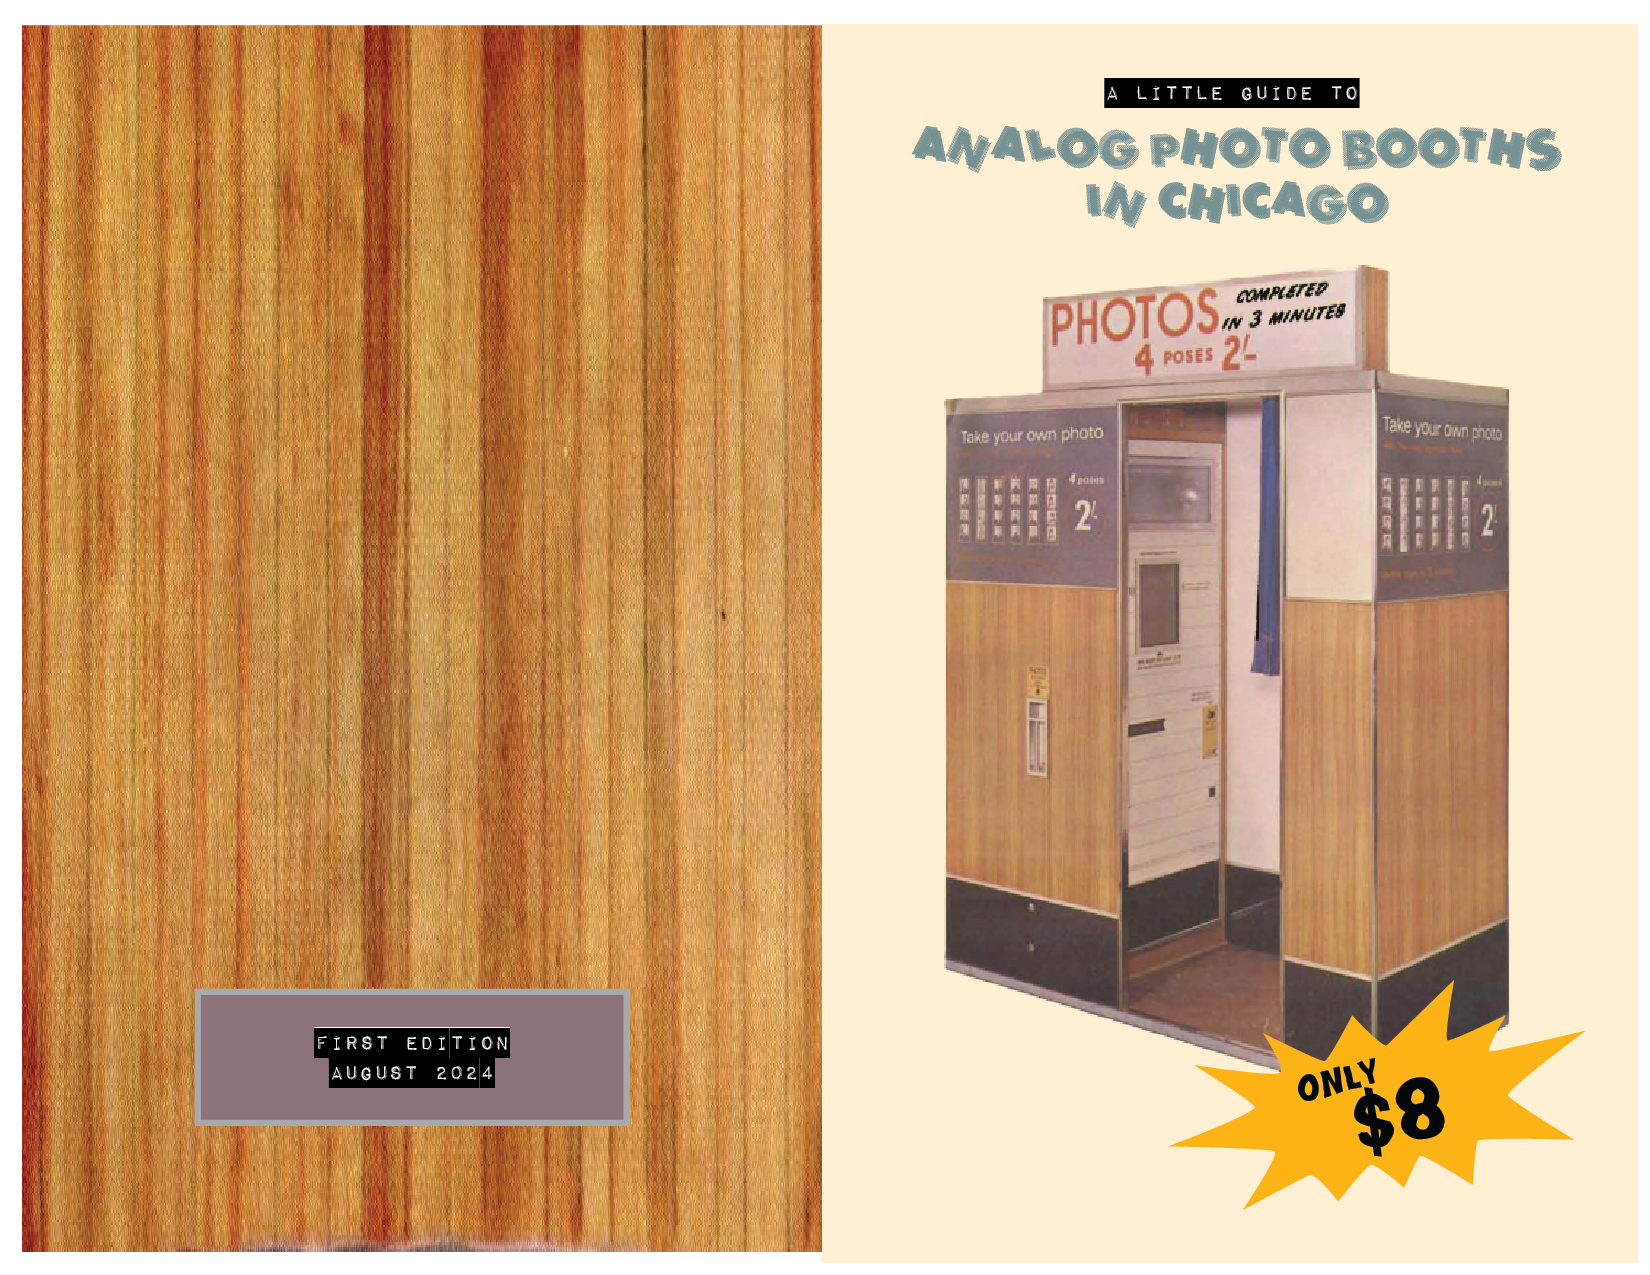
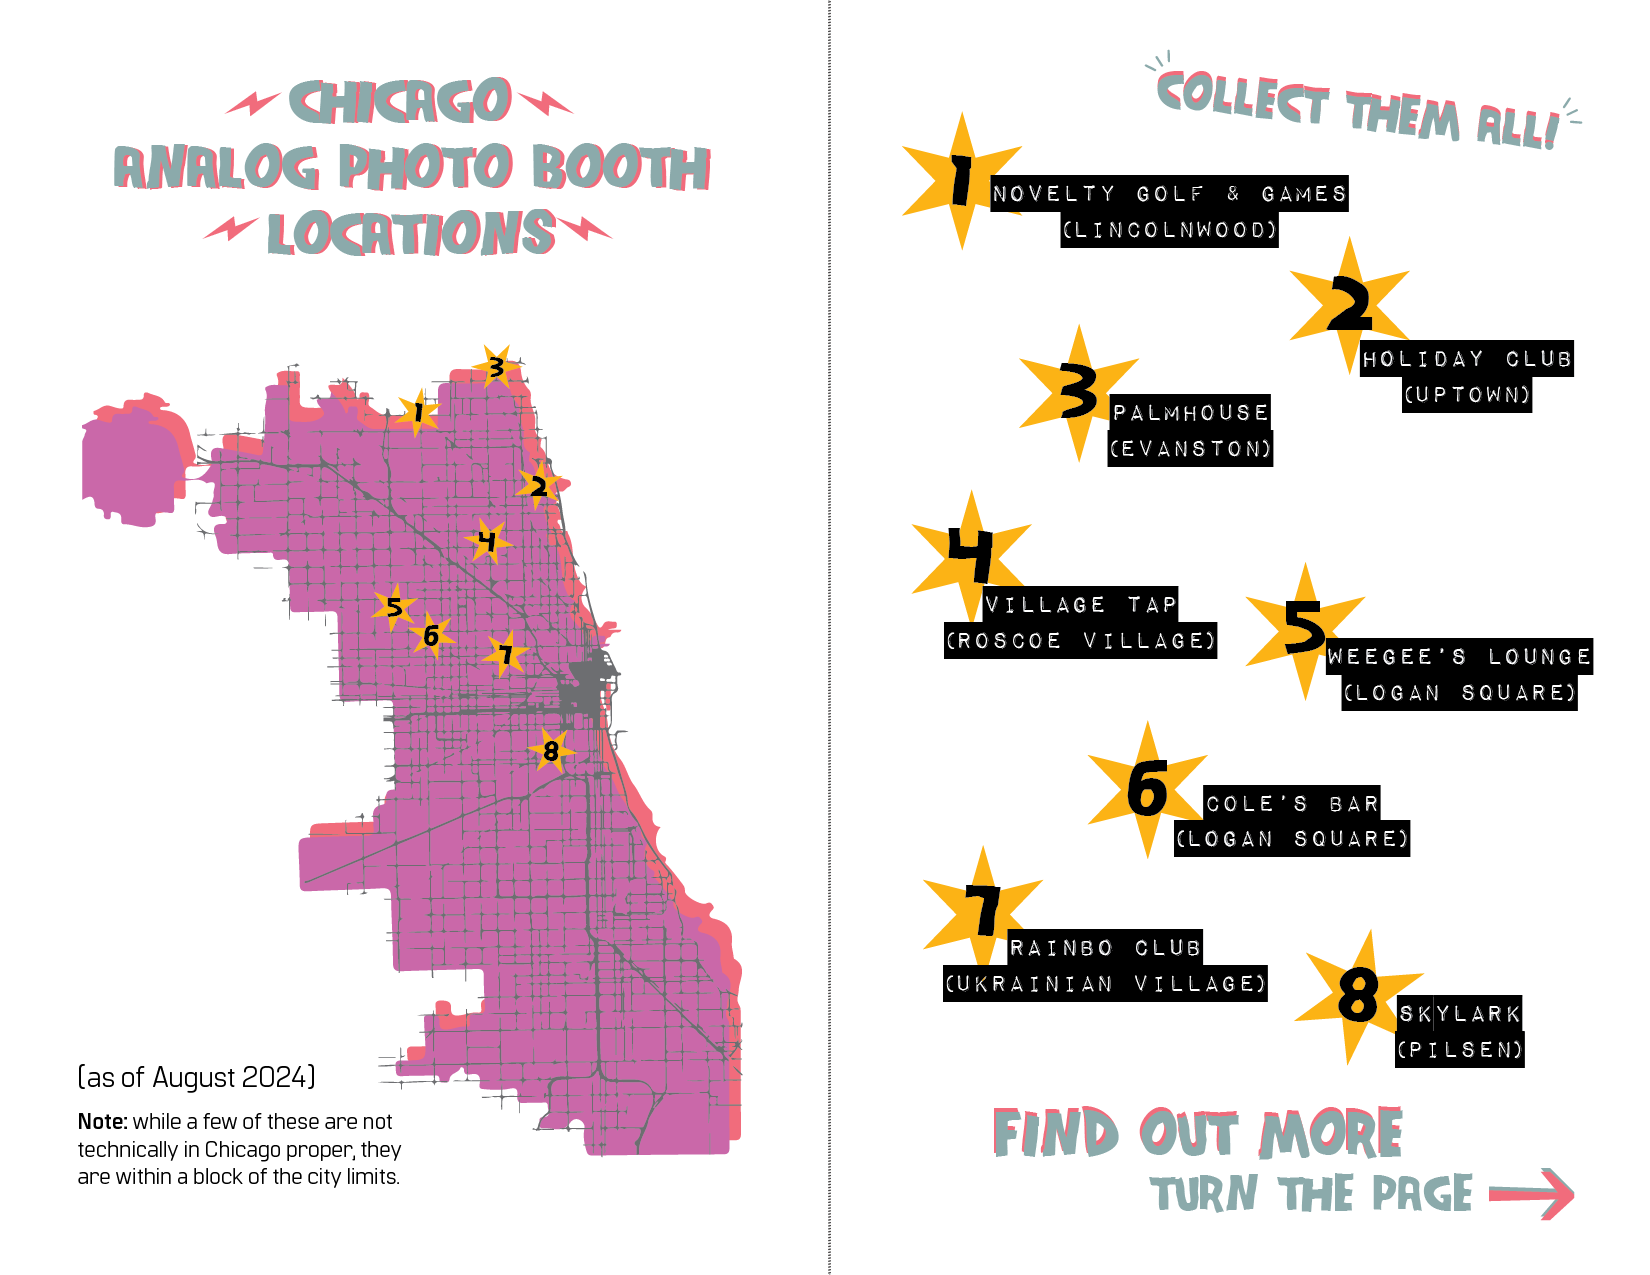
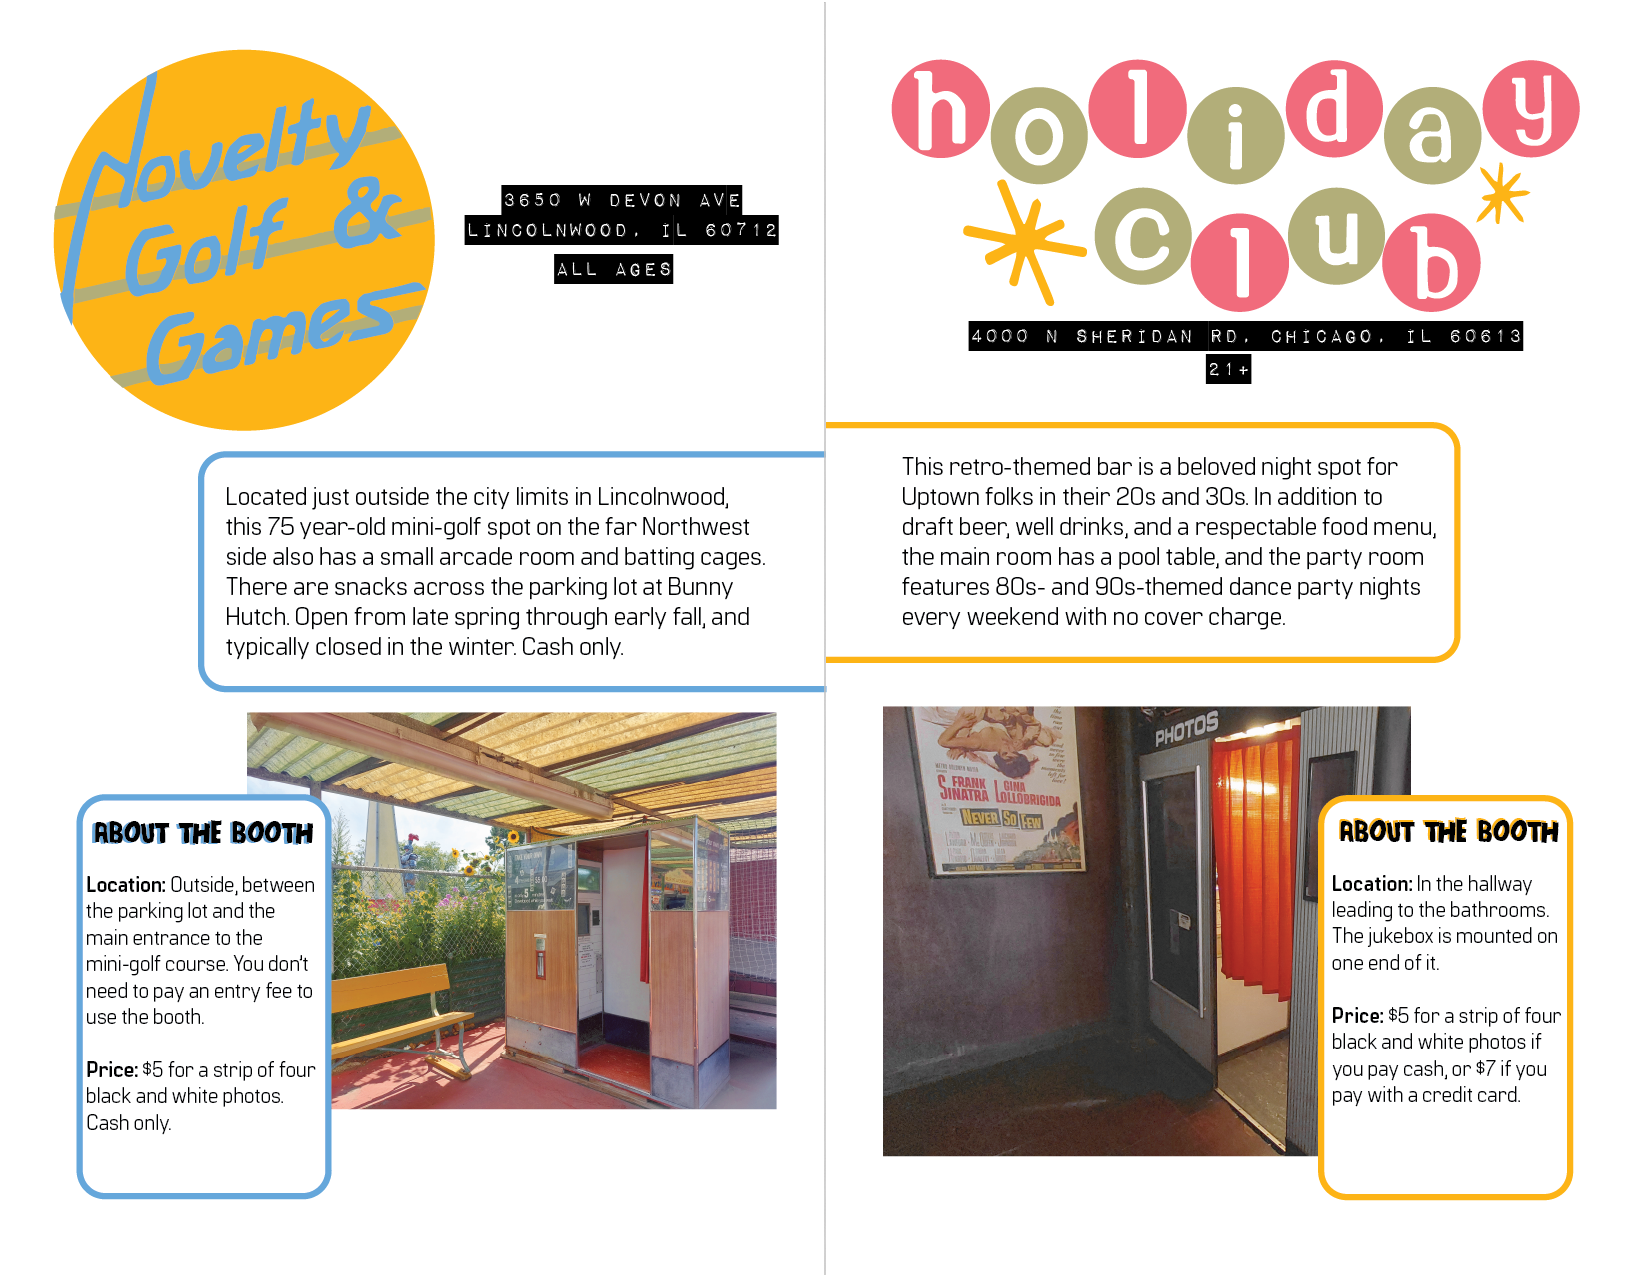
“The Little Guide to Analog Photo Booths in Chicago” is an original zine (a DIY self-published book) created and printed on a Risograph printer. In 2023, I started a personal project to find and document analog booths in Chicago. Due to growing interest in the project, I turned the fruits of my quest into an informative zine. The finished product will be available for purchase at local stores in Chicago such as Quimby’s Books, Chicago Comics, and Alley Cat Comics.
Skills Used
- Project management
- Time management
- Content design
- Creative writing
- Independent research
- Talking with subject-matter experts
- Adobe Illustrator
- Adobe Photoshop
- Spectrolite for Risograph color separations
Considerations and Challenges
The zine should have a kitschy, retro feel to it
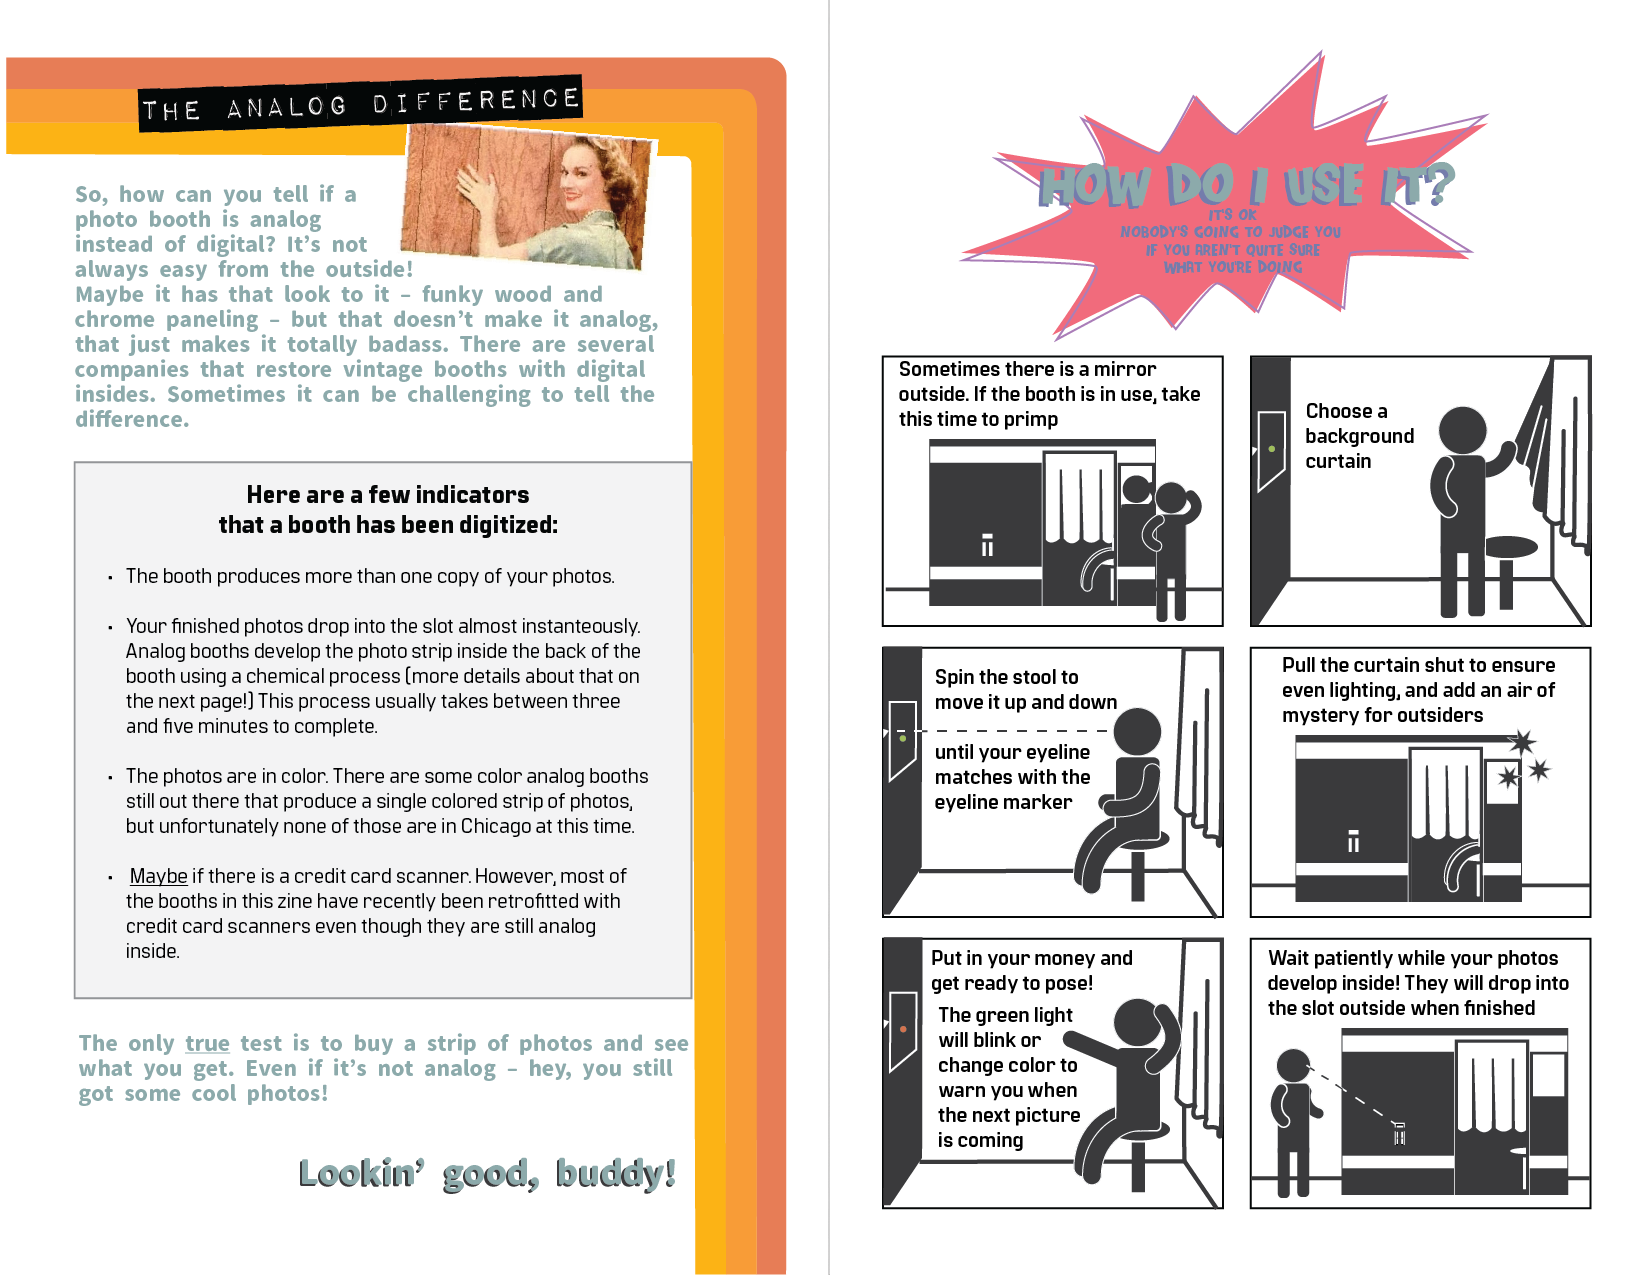
Like the analog photo booths that inspired its creation, I wanted this zine to have a specific analog visual appeal. However, for my own sanity, I wanted to design it digitally. Using a risograph printer felt like the perfect marriage of these two ideas. A Risograph printer is sort of like a cross between a photocopier and an offset printing press. It can print from digital files, but the results it produces have a certain unique, less-than-perfect physical quality to them. With only a rough outline of the zine created, I decided to execute this as my final project in a Risograph printing class I was taking.
The zine must be designed within a limited Risograph color palette
Risograph printers can only print one color of ink at a time, and the facility where I was printing my zine only had certain ink colors available. I decided on a faux-CMYK color palette of fluorescent pink, cornflower blue, sunflower yellow, and black. This allowed me to print the zine’s photographs in an approximation of full-color, but also limited the colors I could use for the illustrations I was designing. To ensure I stayed within my palette, I set up my files in Adobe Illustrator with the exact ink colors I would be printing with, and designed with those constraints in mind.
The zine must be printed on a very strict schedule
Due to facility limitations, I only had access to the printer for about 2 hours per week over the course of three weeks. I began the project with these constraints in mind, and set a very strict schedule for writing, designing, and printing to ensure I finished in time.
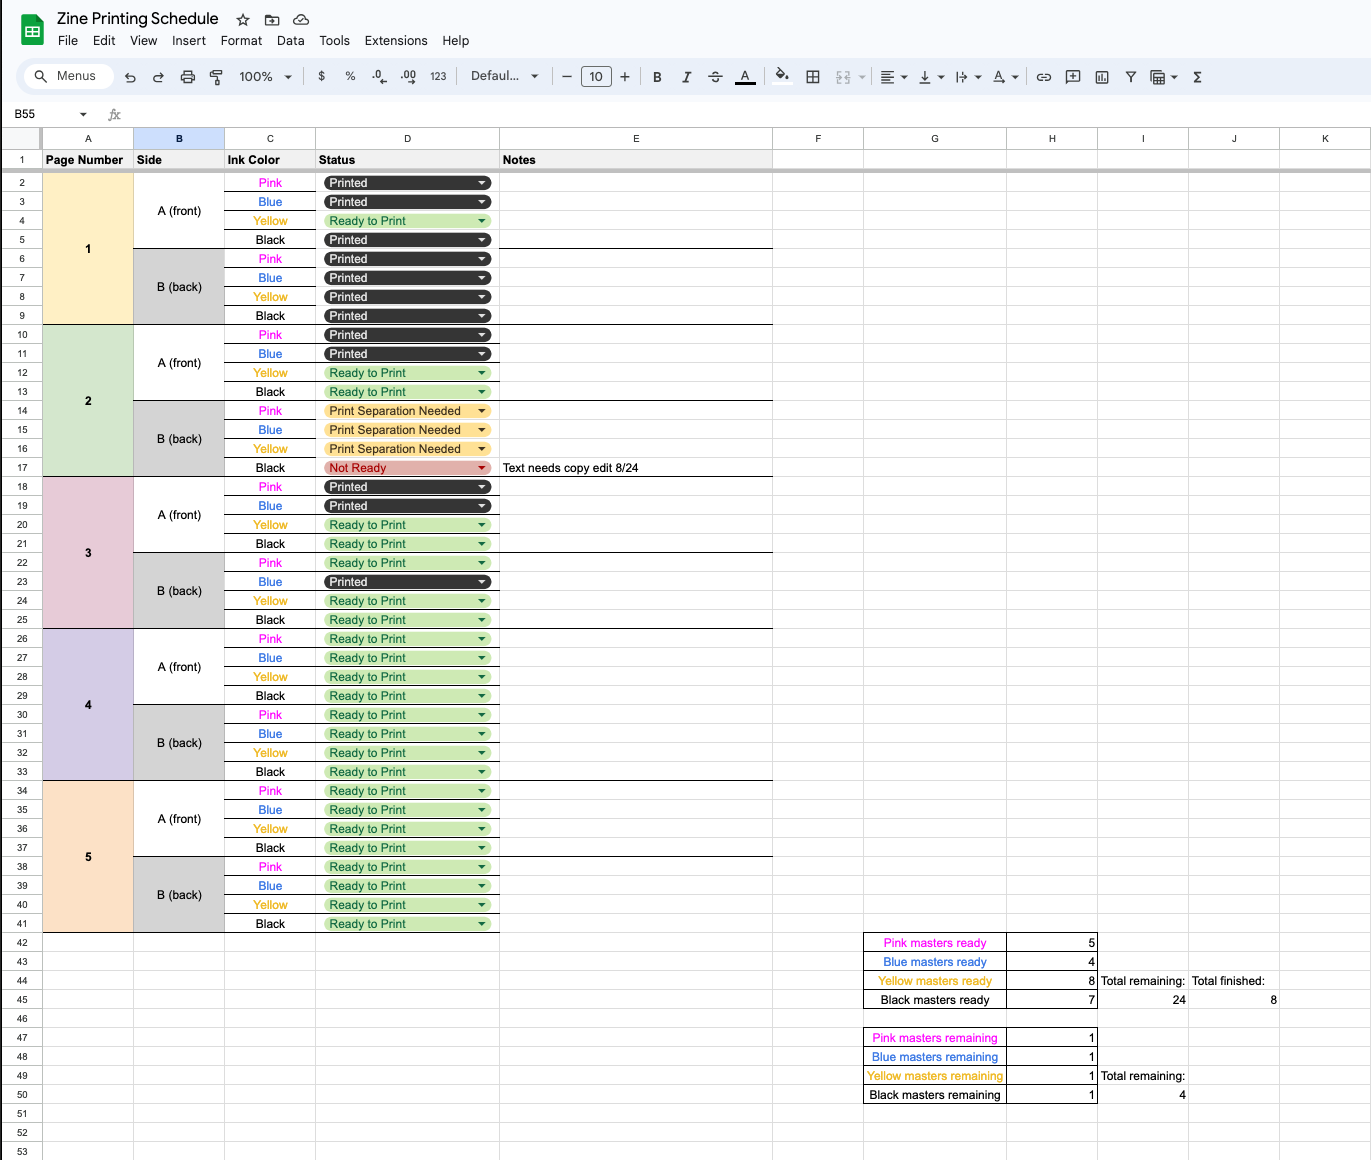
I was able to fit the content into 20 pages in a bi-fold format, meaning each “page” is equal to half a sheet of regular 8.5”x11” paper. Utilizing the front and back of each piece of paper, this came out to five sheets of paper per zine. Each paper had to be printed four times on the front and four times on the back (one print for each color.) It was definitely a job for a spreadsheet, which I’ve included in the gallery above!
Process
Due to time constraints, much of the process steps for this project were performed simultaneously. This required meticulous planning and organization! Ahh, the beloved spreadsheet!
1. Outline and information gathering
The research for this project occurred intermittently as a personal project over the course of about a year. Once I decided to turn it into a zine, I reached out to speak with several subject matter experts and spent a couple days doing in-depth research to confirm that my content was accurate. This helped solidify the rough outline I already had.
2. Physical Prototype
To ensure I was designing each page spread correctly, I created a physical prototype of the zine before I even started working on the content. I took five pages of paper and folded them in half, then labeled them appropriately so I knew which pages went together. I referred back to this prototype throughout the entire design and print process.
3. Writing and illustrations with intermittent feedback
I created a page template and custom palette in Adobe Illustrator that I used to design each two-page spread. In order to speed up my work time, I wrote the content, created the artwork, and designed the layout for each spread directly in Illustrator. I solicited feedback from friends, classmates, and prospective readers throughout this process.
4. Designing and executing the print plan
While the content design was in progress, I used my physical prototype and my planning spreadsheet to work out a print schedule. I noted which page spreads were ready to print in which colors, and began printing as I designed the remaining pages.
5. Assembly
After everything was printed, I cleaned up roller marks and artifacts on each page with an eraser, then assembled and stapled each copy. Phew!